
True impact
Starts with you
Get proven tools you need to
influence, communicate, and transform lives.


Trusted by leaders, practitioners, and professionals who create change.

Integrity – Change work that honors values and faith.

Practicality – Skills you can use immediately.

Impact – Results that ripple through communities.
Are You A Dedicated Ministry Leader Or Heart-Centered Professional?
FEELING BURNED OUT AND OVERWHELMED DESPITE YOUR BEST EFFORTS?

Ever Wonder Why Lasting Change in Those You Serve Feels Just Out of Reach?
(Even When You’re Doing Everything Right)?

Discover the hidden keys to transformation that empower both you and those you serve—without sacrificing your own well-being.
Feeling stuck and exhausted in your mission to serve others? You're not alone. Even the most committed leaders can find themselves questioning their impact, wondering why lasting change seems elusive despite their best efforts. It's time to discover the hidden keys that unlock transformation for both you and those you serve, without sacrificing your own well-being.
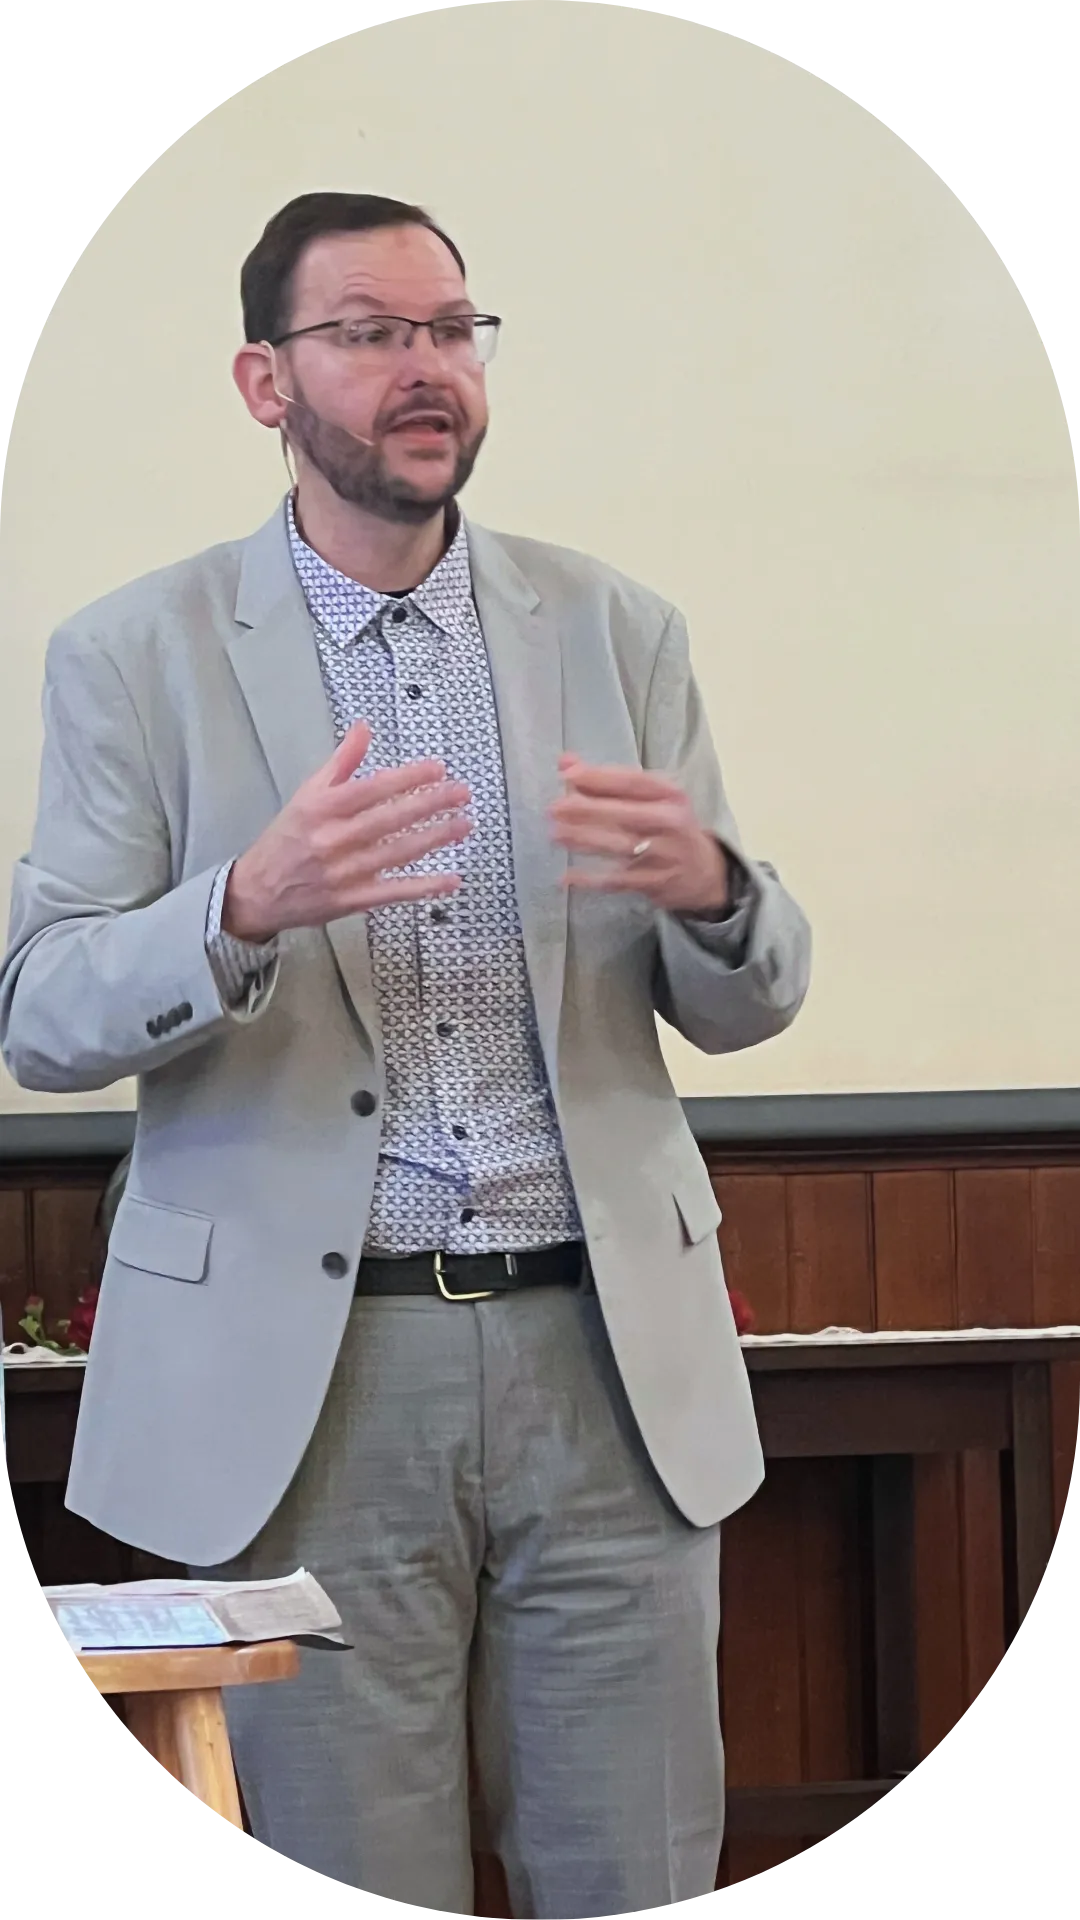
Chuck Hendrix
Founder of Impact Seminars & Workshops

Chuck Hendrix
Founder of Impact Seminars & Workshops
Helping You
Help the People You Serve
Your heart is for your people. You give of yourself every day—guiding, serving, and caring—while carrying your own challenges in the background. You don’t need to do it alone; you need tools that create lasting change for yourself and those you serve.
Impact Seminars & Workshops equips you with practical, proven strategies to help others break patterns, find clarity, and create lasting change. As you learn to guide transformation in the people you serve, you’ll discover that the same tools bring renewal and breakthrough in your own life as well—extending impact to your family, your community, and beyond.
Here's What's Coming Soon
For Pastors & Heart Centered Professionals
Functional NLP
For Pastors & Heart Centered Professionals

Learn practical tools to understand how people think, process, and respond—so you can communicate with clarity, resolve conflict, and create lasting transformation.
Communication Impact
Get Better Results Every Time You Open Your Mouth
Discover how to connect from the heart while mastering the language of influence, so your words inspire real understanding and measurable change.
Impact Coaching For Pastors
Equipping Pastors to Coach Effectively
Gain a proven framework to help people move from insight to action—combining biblical wisdom with coaching skills that empower lasting growth and discipleship.
Functional NLP
For Pastors & Heart Centered Professionals
Communication Impact
heart-centered connection for maximum results
Impact Coaching For Pastors
Equipping Pastors to Coach Effectively
Functional NLP
3 DAYS CAN MAKE ALL THE DIFFERENCE IN YOUR WORLD
What if you could gain the tools to lead boldly and inspire meaningful change, all in just three days? Discover how our Functional NLP training is designed to empower you with practical skills for real, lasting results for you, your family and your ministry.
Communication Impact
Get Better Results Every Time You Open Your Mouth
Imagine preaching, leading, and relating more deeply with others having total clarity and confidence. In this training, you'll discover powerful tools to renew their internal dialogue, transform interpersonal communication, and speak with greater impact from the pulpit and in everyday life.
Impact Coaching For Pastors
Equipping Pastors to Coach Effectively
What would it be like if you were certified with tools that go beyond Pastoral Counseling? Sometimes our parishoners need a coach, more than a counselor. Come and develop the tools that will help you lead an equip change more effectively.
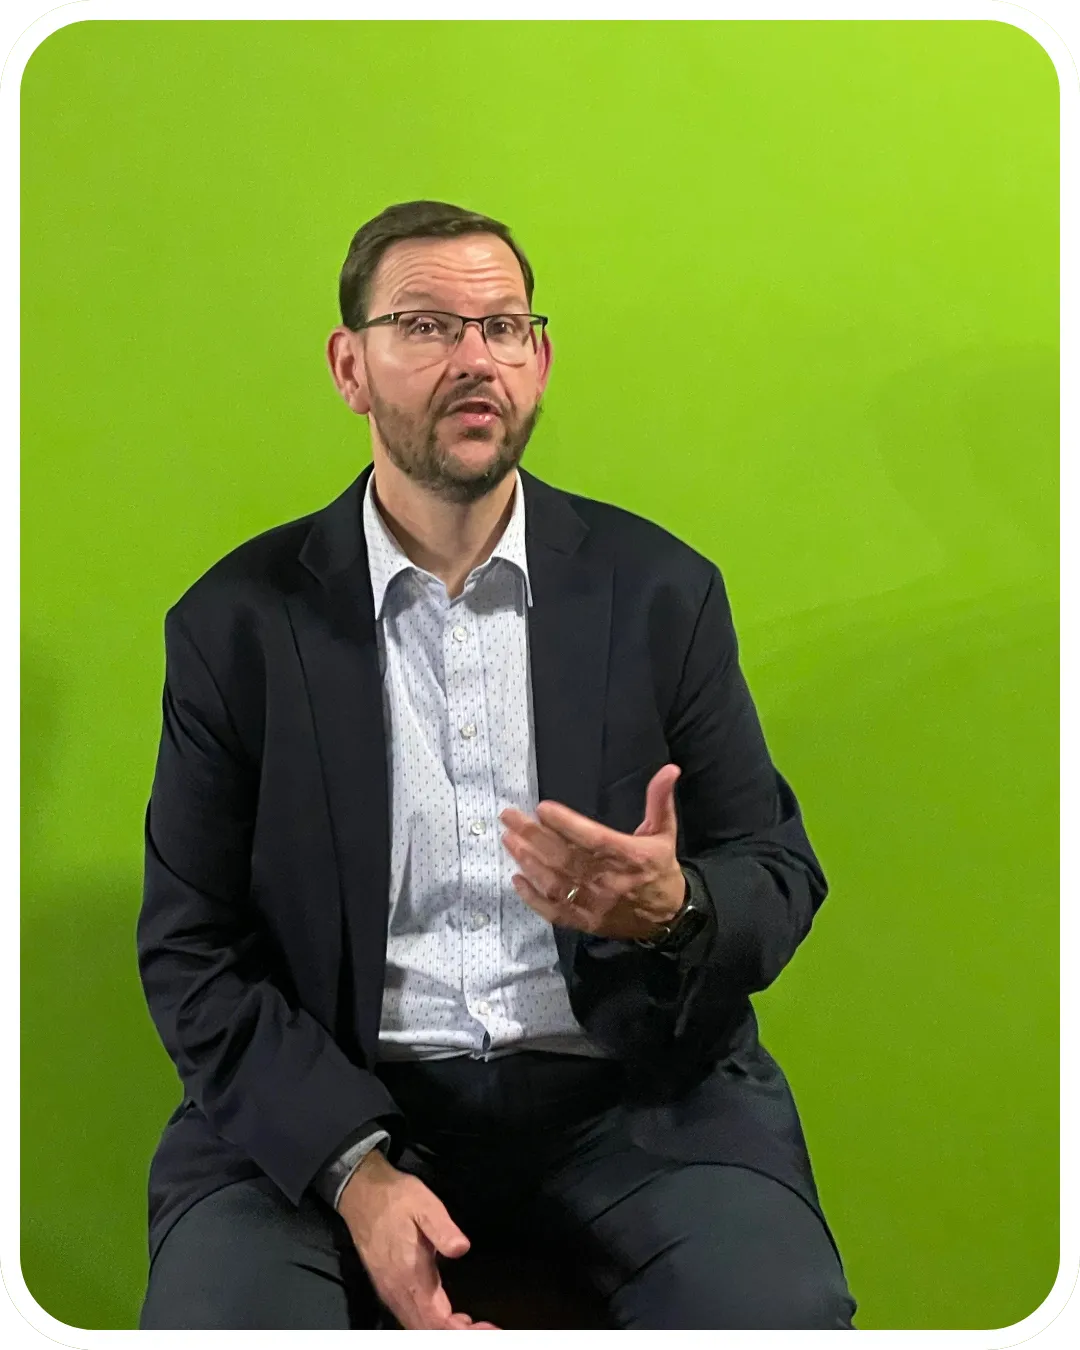
Chuck Hendrix
Founder of Impact Seminars & Workshops
Equip Yourself. Empower Others.
Every conversation you have, every person you serve, is an opportunity for impact. With practical skills in communication and transformation, you’ll not only guide others—you’ll build ripple effects that reach families and communities.
Gain tools to help others break free from limiting patterns
Communicate with clarity, confidence, and compassion
Build stronger trust and connection in every conversation
Multiply your impact in families, churches, and communities

See What Makes This Different
Impact Seminars & Workshops exists to renew the minds and restore the energy of pastors and heart-centered professionals — equipping them with practical tools that reach beyond surface-level motivation to create lasting transformation from the inside out.
Meet members
of our team
It is a long established fact that a reader will be distracted
by the readable content of a looking at its layout.
It is a long established fact that a reader.
The point of using Lorem Ipsum.
A more or less normal distribution of letters.

Lorem Ipsum
Coach

Lorem Ipsum
Coach

Lorem Ipsum
Coach

Lorem Ipsum
Coach

Lorem Ipsum
Coach

Lorem Ipsum
Coach

Impact Seminars & Workshops exists to renew the minds and restore the energy of pastors and heart-centered professionals — equipping them with practical tools that reach beyond surface-level motivation to create lasting transformation from the inside out.
Company
Copyright 2026. Impact Seminars & Workshops. All rights reserved.